Embarking on a design project can be an exciting yet daunting task, especially when you're unsure of the steps involved. The design process, however, is a well-structured, iterative approach that transforms raw ideas into tangible, functional, and aesthetically pleasing solutions. Let's delve into the five steps of the design process, breaking down each stage to provide a comprehensive guide for your next project.
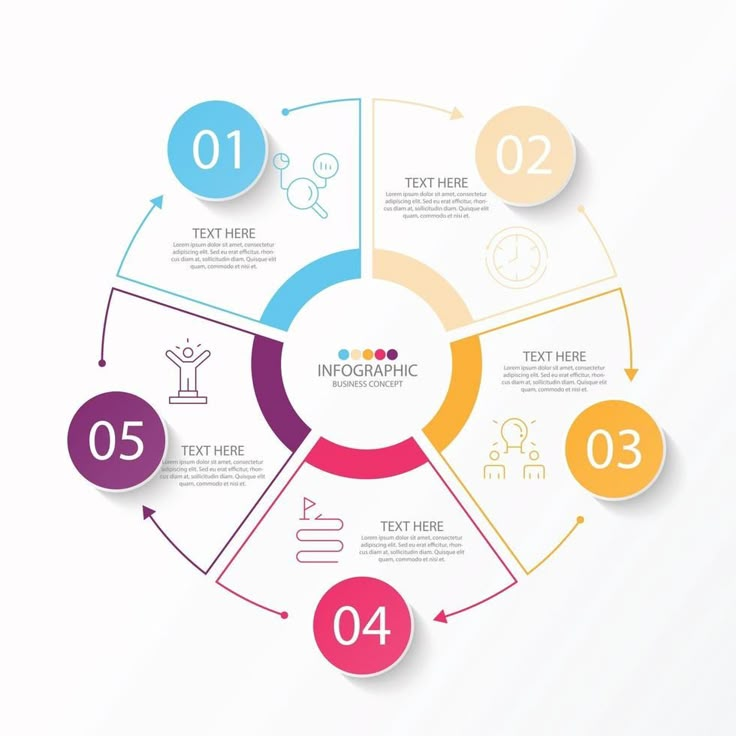
At its core, the design process is a cyclic journey consisting of investigation, ideation, development, validation, and implementation. Each stage plays a critical role in ensuring the final outcome meets the project's objectives and user needs. Now, let's explore these phases in depth.
1. Investigation: Understand the Problem & Context
The first step in the design process is to investigate and understand the problem you're trying to solve. This involves gathering insights from various sources to gain a holistic perspective. By doing so, you'll set a strong foundation for the subsequent stages.


To begin, identify the core problem or opportunity that sparked the project. This could stem from a user need, business challenge, or a gap in the market. Once defined, start collecting data from relevant sources such as user interviews, market research, and industry trends. This information will inform your design decisions and help ensure your solution resonates with your target audience.
Research Methods
Employing a mix of research methods helps enrich your understanding of the problem space. Some popular techniques include:


- User Interviews: Engage with potential users to understand their behaviors, motivations, and pain points.
- Surveys: Gather quantitative data from a large group of respondents to identify patterns and trends.
- Competitive Analysis: Investigate your competitors' offerings to identify gaps and opportunities.
Synthesize & Define
After collecting and analyzing your research data, synthesize findings into actionable insights. Identify patterns, trends, and opportunities that will guide your design process. Finally, clearly define the problem you're trying to solve, ensuring it's specific, measurable, and relevant to your users and stakeholders.
With a well-defined problem statement in hand, you're ready to move on to the next stage: ideation.
2. Ideation: Generate Creative Solutions
Ideation is the creative stage of the design process where you explore a multitude of potential solutions. Embrace a human-centered approach by focusing on user needs and continually referencing your research findings.


Kickstart your ideation phase by organizing brainstorming sessions with a diverse team. Encourage wild, unfiltered ideas, and build upon others' suggestions. Employ quantity over quality at this early stage, as the goal is to generate as many ideas as possible. Some ideation techniques include:
Brainstorming
Gather a diverse group of participants and set a time limit for idea generation. Encourage everyone to contribute and build upon existing ideas.
To keep ideas organized, use mind maps, sketching, or digital tools to visualize connections between concepts.


Mind Mapping
Mind maps are a visual way of organizing ideas hierarchically. Start with the central problem or topic, and branch out into subtopics, categorizing ideas into related clusters.
Once you've generated a plethora of ideas, it's time to evaluate their viability and select the most promising ones for further development.
3. Development: Create & Refine Prototypes
In the development stage, you'll transform your chosen ideas into concrete form, creating initial prototypes to test and iterate. Employ a low-fidelity approach initially, focusing on validating core functionality and gathering user feedback.
Begin by sketching or wireframing your concepts to establish a visual language. Gradually refine your designs through subsequent iterations, incorporating user feedback and improving upon your initial ideas. Some development techniques include:
Sketeching
Quick, low-fidelity sketches help communicate your ideas and capture the essence of your design. Use pencil, paper, or digital tools to explore various layout and form factors.
Make use of Murphy's laws – consider edge cases, error states, and exceptions to ensure your design can handle real-world use.
Wireframing
Wireframes are refined sketches that outline the arrangement of elements on a page or screen. They help you establish hierarchy, layout, and spacing, enabling you to identify and address potential usability issues early on.
Throughout the development stage, maintain open communication with your team and stakeholders. Encourage feedback and incorporate it into your design revisions.
4. Validation: Test & Refine Designs
Before implementing your design, it's crucial to validate your solutions through thorough testing. Usability testing with real users provides invaluable insights into how they interact with and perceive your design, helping you refine and improve upon your work.
Create user scenarios and task flows to guide your testing. Recruit participants that match your target audience and observe their behavior as they interact with your prototype. Some validation techniques include:
Usability Testing
Conduct informal user testing sessions with 5-7 participants. Monitor their behavior as they complete tasks and gather feedback on their experiences.
Use think-aloud protocols, asking users to verbalize their thoughts andactions while performing tasks. This helps uncover unconscious biases and hidden pain points.
Heuristic Evaluation
Perform a structured evaluation of your design based on recognized usability principles, such as Jakob Nielsen's heuristics. This helps identify any significant usability issues before user testing.
Thoroughly analyze user feedback and testing results. Use the insights gathered to iterate and refine your design. Once you're satisfied with your prototype, it's time to move on to implementation.
5. Implementation: Bring Designs to Life
Finally, the implementation stage sees your designs brought to life. Collaborate with developers, stakeholders, and any other project stakeholders to ensure a smooth transition from design to development.
Create detailed design systems and style guides to maintain visual consistency throughout the project. If possible, provide developers with design tokens, components, and other front-end assets to expedite the process.
Agile Development
Adopt an agile development methodology, breaking your project into manageable sprints or iterations. This allows for continuous feedback and adaptation throughout the development lifecycle.
Regularly review progress with your team, and adapt your design as needed to accommodate any technical limitations or constraints. When the final product is launched, monitor its performance and user feedback, prepared to refine and iterate on your design as needed.
Embracing the five-step design process empowers you to create intuitive, user-centered solutions that meet the needs of your users and stakeholders. By understanding and applying these fundamental stages, you'll consistently deliver exceptional design outcomes. So, what's the next challenge you're excited to tackle? The world of design awaits, filled with endless opportunities to create, innovate, and inspire.